

Dynamic OG Images w/ MiniMagik

Dynamic OG Images
Do you ever want more control over your OG images for SEO purposes? Maybe you want to overlay some text dynamically? A blog title, perhaps.
While there are many ways to accomplish this, continue on to see how I used MiniMagik within Rails Carrierwave to generate just that.
Overview
A quick application overview before we dive in.
# modles/post.rb
class Post < ApplicationRecord
  mount_uploader :featured_image, FeaturedUploader
# app/uploaders/featured_uploader.rb
class FeaturedUploader < CarrierWave::Uploader::Base
  include CarrierWave::MiniMagick

  storage :aws

  version :thumb do
    process resize_to_fit: [50, 50]
  end

  version :og do
    process resize_to_fill: [1200, 630]
  end

  # ...other options
end
I have a standard Rails app with a Post Modal.
That model has a featured_image column tied to Carrierwave through our FeaturedUploader class. In our current state, uploading an image to featured_image and saving the post will tell Carrierwave to generate two additional versions: a “thumbnail” that’s 50x50 and an “og” version that’s 1200x630 (recommended OG sizing). This is good on its own, but it only resizes our image.
What if we wanted to do more? Insert MiniMagick options!
Overlaying Text
Our Post model also has a title. Let’s tap into that column for our text overlay.
We will add a few more helpers inside our featured uploader and model. I’ll paste the code below, and then we’ll walk through what is happening.
# post.rb
class Post < ApplicationRecord
  after_save :recreate_og_image

  def recreate_og_image
    return unless saved_change_to_title? || saved_change_to_featured_image?

    featured_image.recreate_versions!(:og) if featured_image.present? && title.present?
  end
# app/uploaders/featured_uploader.rb

  version :og do
    process resize_to_fill: [1200, 630]
    # NEW LINE HERE
    process :add_text_overlay
  end

  private

  def add_text_overlay
    title = title_text

    manipulate! do |img|
      img.combine_options do |c|
        c.gravity 'Center'
        c.pointsize 50
        c.draw "text 0,0 '#{title}'"
        c.fill 'white'
      end
    end
  end

  def title_text
    if model.present? && model.respond_to?(:title)
      model.title
    elsif title.present?
      title
    else
      'Draft'
    end
  end

  def manipulate!
    cache_stored_file! unless cached?
    image = ::MiniMagick::Image.open(current_path)
    yield(image)
    image.write(current_path)
  end
end
Let’s take this step-by-step.
Step 1: Adding the after_save Callback in the Post Model
In your Post model, add an after_save callback that triggers the recreation of image versions if the title has changed.
class Post < ApplicationRecord
  after_save :recreate_versions_if_title_changed

  private

  def recreate_versions_if_title_changed
    if saved_change_to_title? && featured_image.present?
      featured_image.recreate_versions!(:og)
    end
  end
end
Step 2: Adding the add_text_overlay Process in FeaturedUploader
In your FeaturedUploader, add the add_text_overlay process to the og version. When the OG version is recreated, this method will run again after resizing. Feel free to mix and match process methods per version.
 version :og do
    process resize_to_fill: [1200, 630]
    # NEW LINE HERE
    process :add_text_overlay
  end
Step 3 (The real logic)
add_text_overlay uses manipulate! from Carrierwave::MiniMagick to kick us off.. but there’s one catch. If I’m uploading the image from the form, I have the raw image file in hand. However, if I’m calling this from an after_save hook (title change), I’ll have the MiniMagik instance of this image with pointers to the file.
To help with this, we’ve added a manipulate! method to override the previous one. In this method, we check to see if we have the cached temp file from our form first, and if not, leverage MiniMagick to open the file it has in hand. This ensures we have a raw image file before doing extra manipulations. Likewise, you’ll notice we do the same for the title, as depending on the trigger, the title may come from the model or straight as a field reference.
  private

  def add_text_overlay
    title = title_text
    # add some sanitation helpers here for special characters...

    manipulate! do |img|
      img.combine_options do |c|
        c.gravity 'Center'
        c.pointsize 50
        c.draw "text 0,0 '#{title}'"
        c.fill 'white'
      end
    end
  end

  def title_text
    if model.present? && model.respond_to?(:title)
      model.title
    elsif title.present?
      title
    else
      'Draft'
    end
  end

  def manipulate!
    cache_stored_file! unless cached?
    image = ::MiniMagick::Image.open(current_path)
    yield(image)
    image.write(current_path)
  end
The Options
MiniMagick has a ton of options, and this post barely scratches the surface. If you are diving in, I would encourage you to give their docs a good read.
Let’s take a closer look at this section of our code. Here, you can see that we are tapping into options to perform a few actions. We draw some white text centered on the page, with a point size of 50.
     img.combine_options do |c|
        c.gravity 'Center'
        c.pointsize 50
        c.draw "text 0,0 '#{title}'"
        c.fill 'white'
      end
Step 4 (Test it out!)
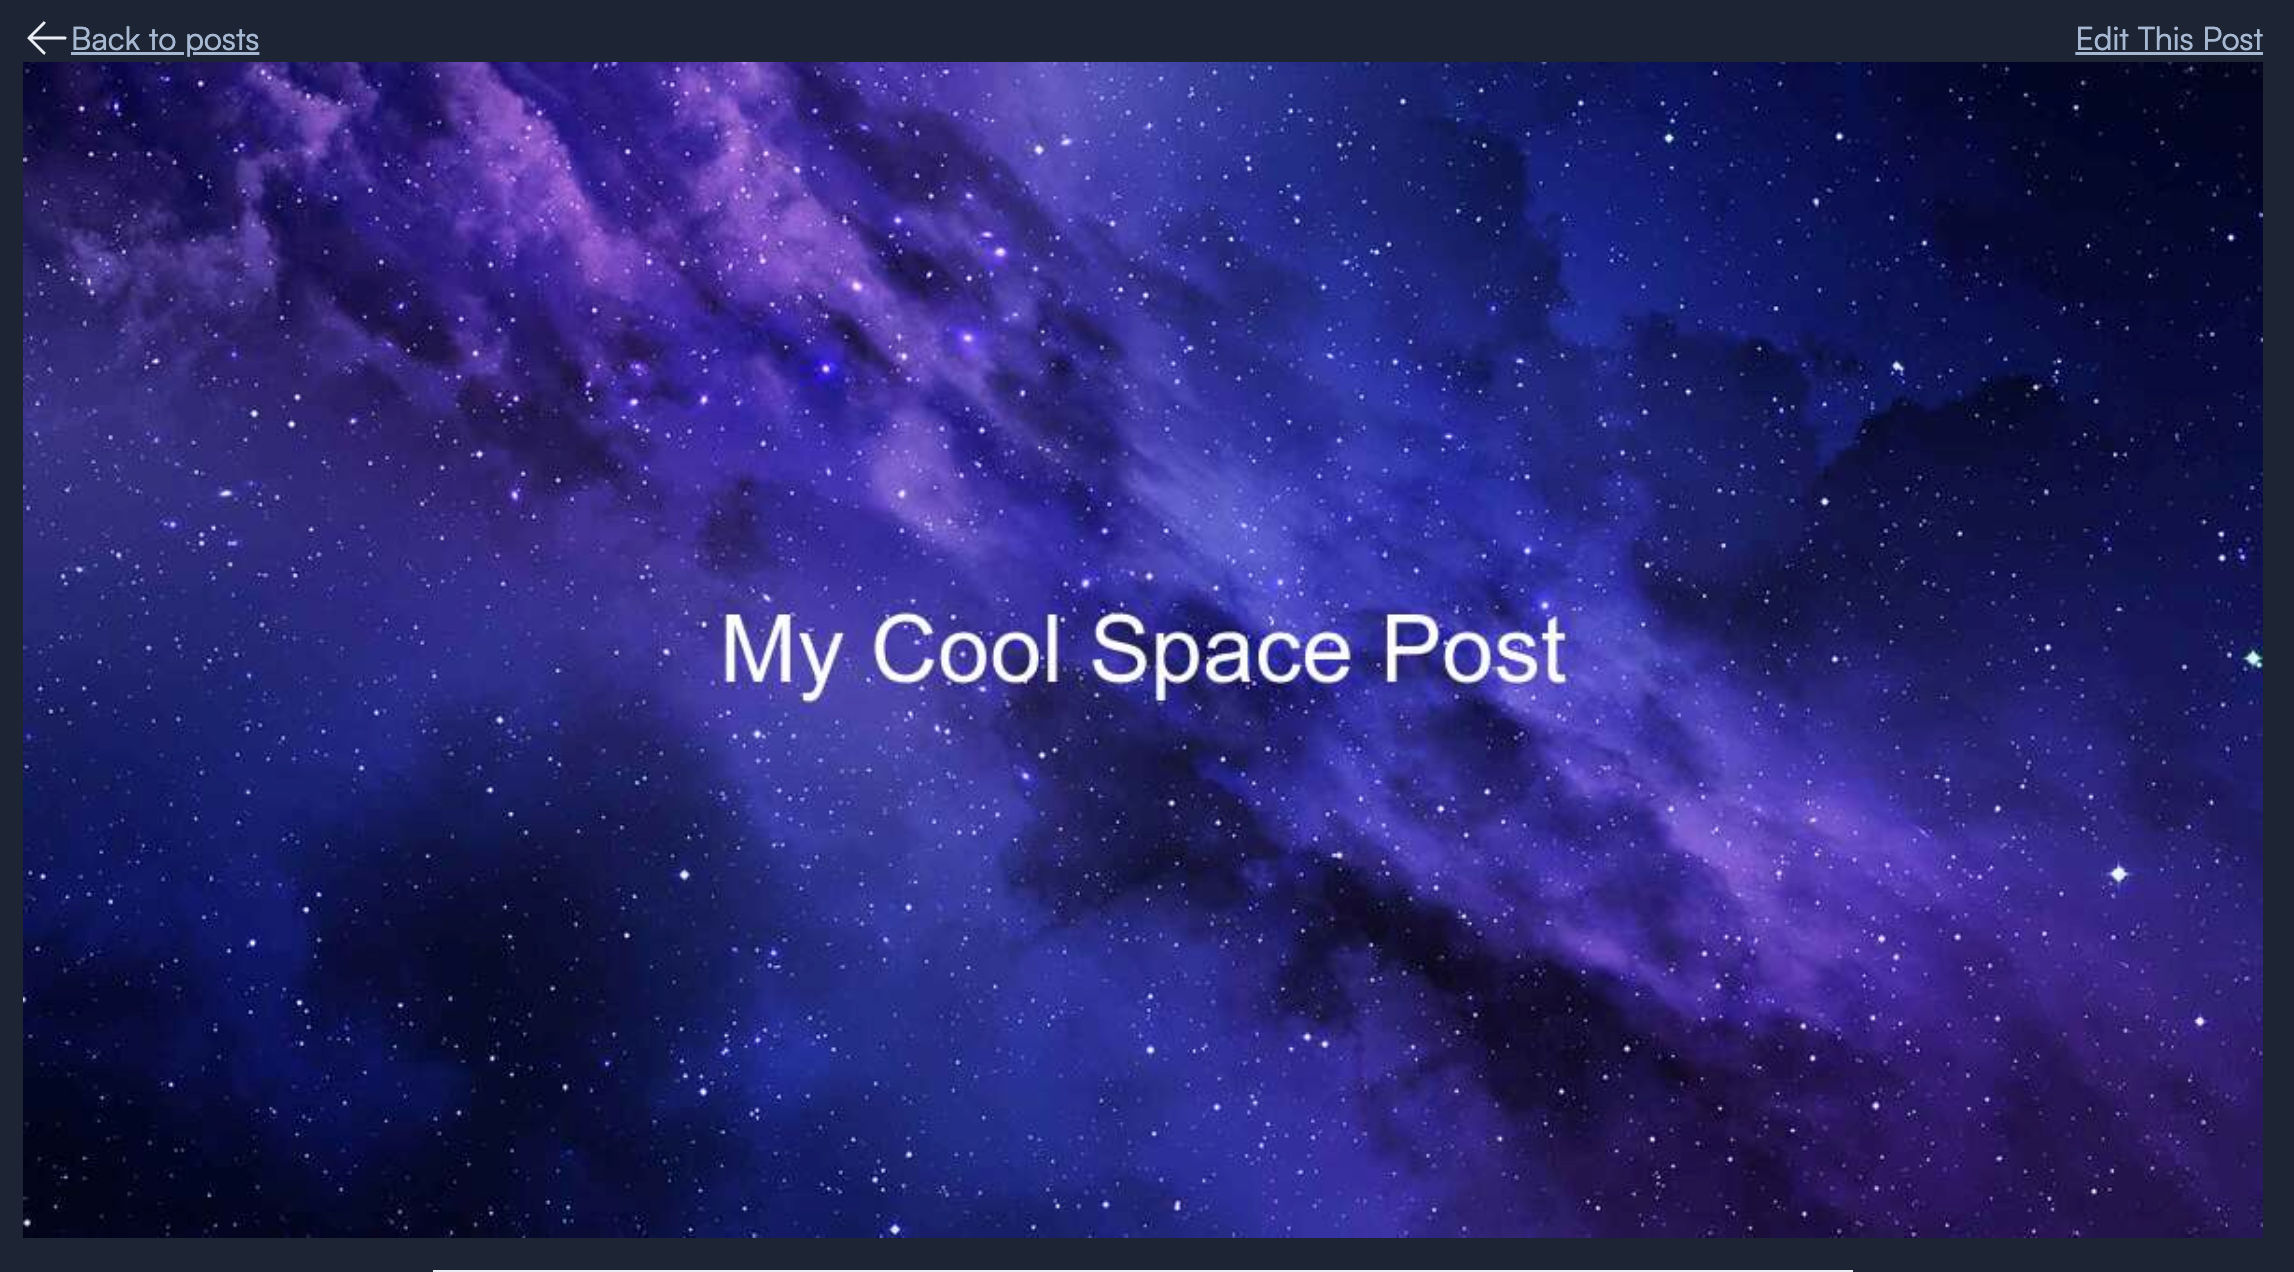
It’s Rails. Assuming you have scaffolded some CRUD routes, we can save the title and a featured image to see our result. Opening up our show view, we can add the line below to tap into our og version of the file saved and see the results.
# views/posts/show.html.erb
...
  <%= image_tag @post.featured_image.og.url %>
And that’s it!
Local Rails Demo
Next Steps
Tapping into MiniMagick more opens up endless possibilities, with multiple image overlays and more.

👋🏼 Until next time!